
I have been using my Epson V700 to scan slides for the past couple of months. I wrote a review of the scanner about 2 months ago. If you want to read the original article click here. I scanned a few pictures for that post on the V700 scanner, but not any negatives. Scanning negatives was one of the primary reasons I bought the V700 Photo Scanner so I figured I best get at it! Many people have stated that the negative holders feel cheap or flimsy, and I guess they do compared to the slide holder. So when loading in negatives make sure that you take your time and work on a flat surface. That should help prevent any damage from occurring.
The first negatives I scanned were the first ones I found in my storage compartment. I reached in and took out some of the envelopes and stopped at the first one that also contained the negatives. That turned out to be from a work Christmas party in December 1983. So they were just over 29 years old. The prints were stored with them and I did remember correctly that the color of the prints was muted and not very vibrant. I like my pictures to pop a little more so I was going to have to fix that. The negatives were in good condition, meaning never handled, stored in a dry place and flat, not curled.
The film was taken to a local drug store for processing on Dec 26, 1983 and was Kodak Kodacolor VR 100 (the label on the film is KODAK CP 100). The film was cut into strips of 4 and the Epson negative holders can hold a strip of 6. So that wasn't going to be a problem. When handling the film I used cotton gloves, and after mounting the negatives into the holder (KODAK CP 100 facing down towards the flatbed) I sprayed them with a compressed gas duster as the only cleaning I did. I then turned the scanner on and started SilverFast 8. From the research that I did and the few days that I used the demo software, I decided that SilverFast was the way to go for me. I really do not care about ease of use because what I need is something that works, not something that is easy. Believe me, SilverFast is much easier to learn than Photoshop. I was able to become comfortable with SilverFast in about 3 days working a couple hours each day. Since then, each day builds on the previous and now I am learning additional info about Silverfast at my leisure.
I scanned the first batch of negatives manually, and the second batch using the automatic features of SilverFast. In this case I found the automatic processing to do a very good job. I was happy with it, but of course nothing escapes Lightroom and Photoshop for the final result. I do not add sharpening during the scanning process. I save that for the processing I do in LR and PS. This post is really about the V700 and not any software that I use with it, so I will say that SilverFast has the CP 100 negative type film that I can select to tell it what type of film is being scanned.

What I found is that the final image from the scanned negatives look good, were well received when I shared them with my friends, and some were surprised that I had scanned them from negatives and not the actual print itself. As typical, the scanned negatives were a little soft on focus, but could be adjusted to a sharper image if necessary. Just be careful not to add too much, it is best to keep people on the softer side of a focus anyway! Many times I adjust a pictures lightness and darkness based on a person's hair. Trying to make sure it has some detail and the shading looks good. Skin tones needing to be correct is a no brainer so don't miss the boat there.
They say a picture is worth a thousand words, so here are some pictures that illustrate what I have discussed above.

Notice how the details of the blouse are brought out perfectly and the skin tones are pleasant as well. Just a little rosy color on the cheeks.
The next set of pictures shows the before and after scanned negative of Mr. Hunter as well as the scanned version of the actual picture from 1983. When scanning a picture you need to replace the white insert into the lid of the scanner (reflective scanning).


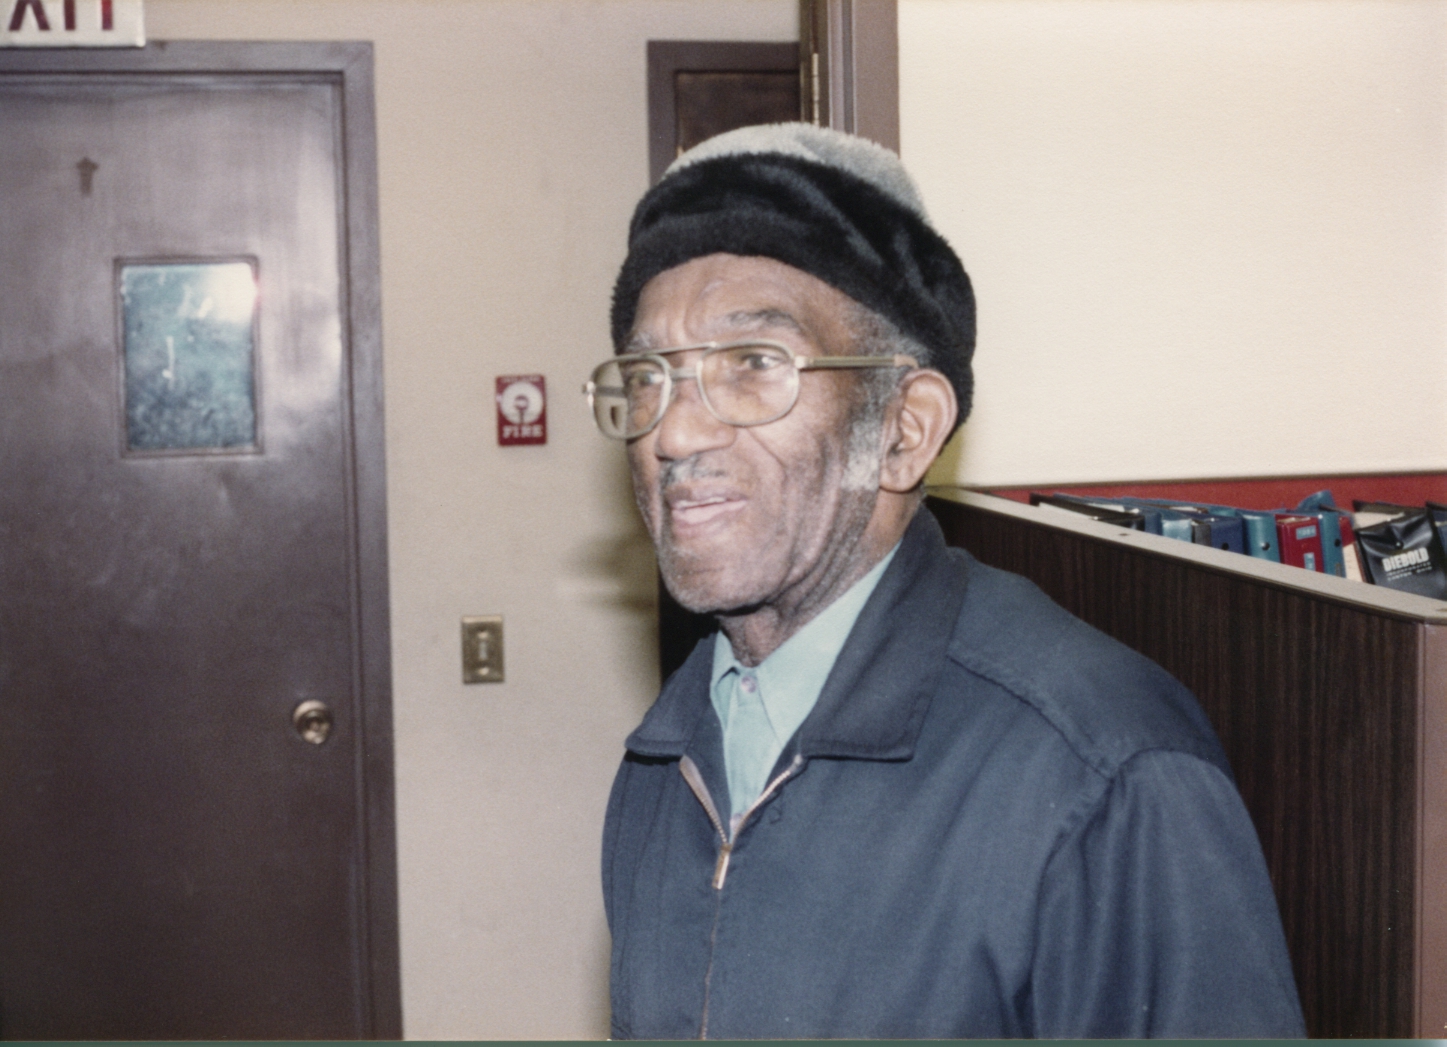
Naturally the above scanned photo could have color correction applied and the colors from the negative versions would be similar. The negatives were scanned at 3,200DPI and larger versions of the picture look very good.
Note: The scanned negative contained more information that what was actually printed in the picture in 1983. In this case the negative scan brought in more information which made a difference on many of the other prints from this set.
Hopefully the above information has been useful or has inspired you to scan in some of your old photographs and share them digitally with your friends.